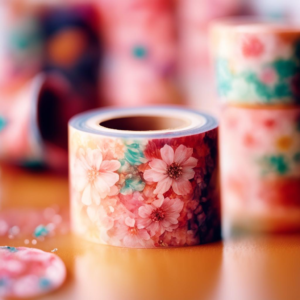
Washi tape is not only a great scrapbooking or journaling material. It can add some serious style to your space. One of my favorite ways to use washi tape is creating wall art. And when you apply some shiny gold tape, it looks extra fancy!
If you’re ready to add some glam to your walls, then you’re in luck! Today, I’m going to walk you through the steps on how to make your own gold washi tape wall art. It’s easy and fun.
So let’s get started!
What is washi tape?

Washi tape is a decorative adhesive tape that originates from Japan.
It’s made from natural fibers, such as bamboo or hemp, which give it a unique texture and durability.
The word “washi” comes from the Japanese words “wa,” which means “Japanese,” and “shi,” which means “paper.”
Traditionally, washi tape was made from Japanese rice paper, but now it’s often made from other materials like wood pulp.
This tape comes in a wide range of colors, cute patterns, and textures, making it perfect for all kinds of crafts and DIY projects.
It’s also easy to tear by hand.
So it’s great for decorating and personalizing just about anything — from scrapbooking and journaling to home or wall decor and party decorations.
Using washi tape for wall art
Washi tape is a fantastic material to use for creating wall art.
It’s incredibly easy to work with.
So it’s perfect for both novice and experienced DIY enthusiasts.
Unlike traditional wallpaper or paint, washi tape is simple to remove, reposition, and adjust as needed.
You can experiment with different designs without worrying about damaging your walls.
Plus, washi tape comes in a wide range of colors, prints, and special finishes, like gold metallic.
It’s an ideal material for making unique designs and custom wall art that suits your personal style and decor.
You can use it to create anything from a bold geometric pattern to a subtle and sophisticated accent.
So, if you’re looking for an easy, budget-friendly, and stylish way to jazz up your space, washi tape wall art is the way to go!
How to make gold washi tape wall art
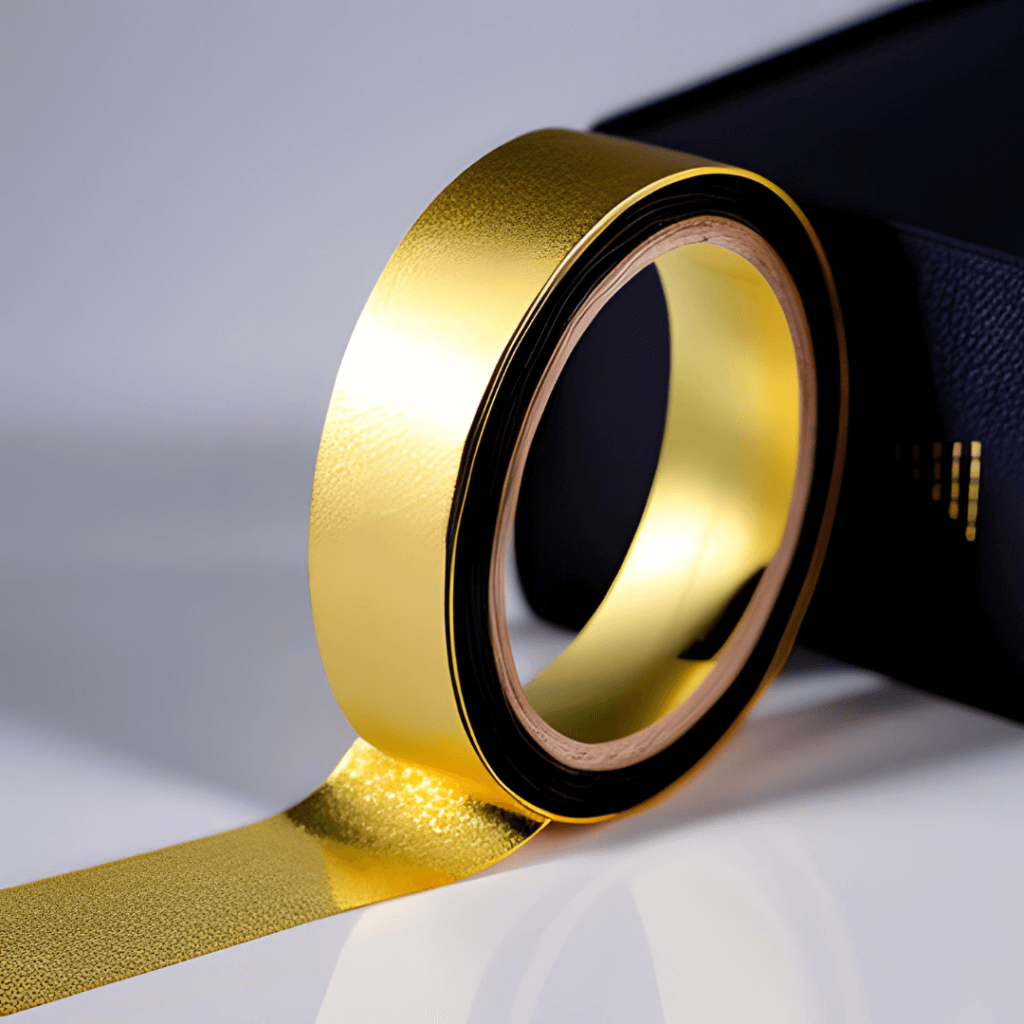
To start, get a good quality gold washi tape that’s easy to tear and reposition as needed.

I’ve tried a few different brands, but my personal favorite is the Scotch Expressions gold washi tape.
It has a lovely shimmer to it that really makes the gold pop.
Plus, this is a really high-quality tape with a great adhesive that’s safe for most types of walls.
Once you have your tape, it’s time to start designing!
I like to use painter’s tape to mark out the endpoints of my design before I start sticking the washi tape to the wall.
This gives me a clear idea of the size, scale, and shape of the design.
And it also makes it easier to get clean lines.
I find that it’s best to apply washi tap in small sections, smoothing the tape down with your fingers as you go.
If you make a mistake or need to reposition the tape, don’t worry — just gently peel it off and try again.
You’ll be amazed at how quickly your wall art comes together, and how stunning it looks once it’s finished.
I’ve used gold washi tape to create everything from simple stripes to more intricate geometric designs.
And I always love how chic and sophisticated it looks.
Here’s all the process in more detail:
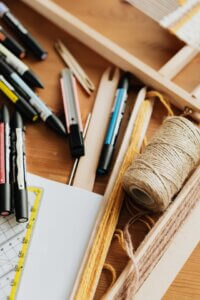
Tools and supplies needed
Creating gold washi tape wall art is a fun and simple DIY project that doesn’t require a lot of supplies or tools.
Here are a few essentials you’ll need to get started:
1. Gold washi tape
Of course, the most important thing you’ll need is gold washi tape! It comes in a variety of gold tones, textures, and patterns.
Choose a tape that’s easy to tear and reposition, and that has a good-quality adhesive.
As I’ve already mentioned above, the best gold washi tape for wall art I’ve ever used is Scotch Expressions.
It has a matte metallic finish and can be written on with pen, pencil, or marker.
This tape also works great for wrapping gifts and decorating planners.
It’s available in other metallic colors, such as pink gold, and can be purchased in multipacks.
2. Painter’s tape

Although it may not be really necessary, I highly recommend using painter’s tape to outline your design before applying the washi tape. This simple step can help you a lot throughout the process.
It gives you a clear idea of the size and shape of your design.
Plus, it also makes it easier to get clean edges.
3. Scissors

Depending on the design you’re creating, you may need to cut the washi tape into different sizes.
A good pair of scissors will come in handy for creating straight edges if you don’t want to tear the tape by hand.
4. Measuring tape or ruler

If you’re creating a geometric design or something that requires precise measurements, a measuring tape or ruler will be very useful.
5. Pencil

You can use a pencil to lightly sketch out your design on the wall before you start sticking down the tape.
This will help you make sure everything is symmetrical and in the right place.
6. Level
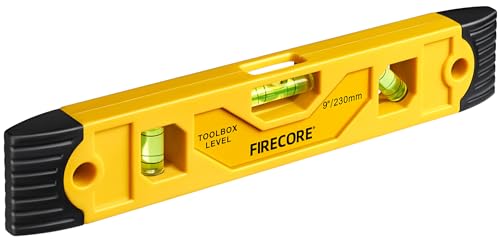
If you’re creating a design that requires straight lines, a level will help you get everything even and aligned.
7. Sponge or burnishing tool

Once you’ve stuck down the washi tape, you can use a sponge or burnishing tool to smooth out any bubbles or creases and make sure the tape lies nice and flat.
How to create gold washi tape wall art step-by-step
1. Choose your design
Before starting, decide on the design you want to create.
It could be a geometric shape, stripes, diamonds, chevron pattern or any other design you like.
2. Gather your supplies
Collect all the tools and supplies needed to make your gold washi tape wall art design.
That should include gold washi tape, painter’s tape, scissors, a ruler or measuring tape, a pencil or pen, a level, and a step stool or ladder if you need them.
3. Plan your design
Use a pencil, painter’s tape, or small pieces of washi tape and a ruler to lightly mark off the design on the wall.
This will help you visualize how the final design will look and allow you to make adjustments.
4. Create guidelines
Once you have your design marked off, use the painter’s tape to create guidelines.
This will make it easier to apply the washi tape in a straight line.
5. Apply the washi tape
Starting at one end of the guideline, apply the gold washi tape along the line.
Smooth it down as you go.
Use scissors to cut the tape to length as needed.
6. Create angles and shapes
If your design includes angles or shapes, use a ruler and scissors to create the desired shape with the washi tape.
The tape is easy to reposition, so you can adjust as needed to get the perfect shape.
7. Remove the painter’s tape
Once you have applied all the gold washi tape, carefully remove the painter’s tape if you’ve used it.
8. Finishing touches
Use a level or ruler to check that your design is straight and even, and make any final adjustments as needed.
9. Step back and enjoy
Once the gold washi tape wall art is done, step back and admire your work.
The metallic gold will add a touch of sophistication and glamour to any room in your home.
Gold washi tape wall art ideas
Here are some gold washi tape wall art ideas to inspire your creativity:
1. Geometric Shapes
Create geometric shapes such as triangles, diamonds, or hexagons using gold washi tape.
You can also combine different shapes to create a unique design.
2. Stripes or chevrons
Create vertical, horizontal, or diagonal stripes and chevron patterns.
You can also mix and match different thicknesses of tape for a more dynamic look.
3. Constellations
Create your own constellations on your wall using gold washi tape.
This is a great idea for a bedroom or other relaxing space.
4. Animals
Create polygonal animal shapes such as birds, butterflies, or even unicorns.
This is a great idea for a child’s bedroom or nursery and is currently very trendy.
5. Gemstones
Apply gold washi tape in the shape of a polygonal diamond or gemstone.
This is a great way to add a touch of elegance to your space.
6. Trees
Transform your wall into a mesmerizing tree forest by adorning it with glimmering gold washi tape.
You can create different types of trees and add geometric leaves for a more realistic look.
These are just a few gold washi tape wall art ideas to get you started.
Don’t be afraid to experiment and come up with your own unique designs!
Can I use washi tape on all types of walls?
Washi tape is safe to use on most walls, including paint, wallpaper, plastic, tiles, glass, etc.
However, be careful if you have recently painted your walls, if your wall is made of gypsum, or if you have super-delicate wallpaper.
You can try testing a little piece of tape on a small inconspicuous area first to make sure it won’t damage the surface.
How do I remove washi tape from my wall?
Removing washi tape is usually easy and won’t damage the wall’s surface.
Simply peel the tape off slowly at a 45-degree angle.
If the tape leaves any residue (which almost never happens), use a damp cloth to gently wipe it away.
Can I reuse washi tape?
Washi tape is reusable and repositionable.
However, it may lose its stickiness after being removed and reapplied several times.
For best results, use new tape for each project.
How long will my gold washi tape wall art last?
The durability of your washi tape wall art can be influenced by various factors, including the tape’s quality and the environmental conditions in your room.
However, with proper application and care, this wall art can stay on the wall for several years.
How do I make sure my washi tape design is straight?
Use a level to see whether your guidelines are straight enough before applying the washi tape.
You can also step back from time to time while applying the tape to check for any crooked lines or angles.
Gold washi tape is a versatile material that’s perfect for creating unique and eye-catching wall art to make your space truly your own.
All you need are a few simple tools and supplies, and you’ll be ready to transform any room in your home.
So why not give it a try?
With a little imagination and some gold washi tape, you can create a personalized and stylish space that is sure to impress.