If you’re finding it tricky to get your Cricut to cut adhesive foil correctly, don’t worry! This article is here to help! I was having trouble cutting it too, so I went through the possible causes of this issue, and now I can share the right tools and settings that you can use too.
Don’t give up on your project – let’s give it a go!
What to do if Cricut adhesive foil is not cutting
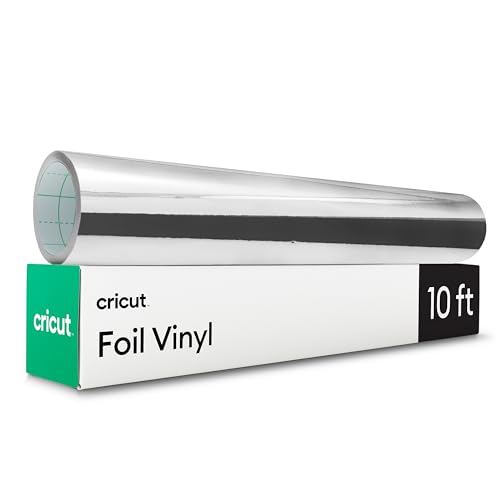
Cricut adhesive foil vinyl is a great material to work with for a lot of projects, from home decor to party decorations.
However, it’s sometimes hard to cut because this foil is made up of multiple layers of vinyl and other materials.
The more layers there are, the more layers the blade needs to cut.
But don’t fret as there are ways to troubleshoot it:
Cricut adhesive foil not cutting all the way through
If you’re trying to cut Cricut adhesive foil all the way through, you’re doing it wrong.
It’s important to remember that a kiss cut is all you need!
So cutting it all the way through is actually not necessary.
Kiss cutting is a technique where the blade only goes through the top layers of the material, leaving the backing or liner intact.
This method is commonly used when working with adhesive materials.
For example, sticker paper, vinyl, or adhesive foil.
This is because it allows you to remove the excess material around your design while keeping the backing in place for easy application. That’s how sticker sheets are made.
And you must preserve the backing layer when cutting Cricut adhesive foil too.
If the machine cuts all the way through the liner, the project will be unusable.
You need to keep the liner intact until you’re ready to apply your cut design.
The backing is necessary for transferring the project to any surface instead of transfer tape.
Troubleshooting Cricut kiss cutting adhesive foil
Now, let’s take a look at some common issues you may encounter when trying to kiss cut adhesive foil and how to troubleshoot them.
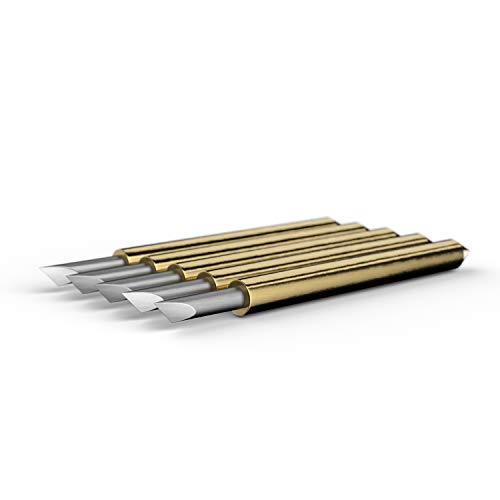
1. Check if your Fine Point Blade is sharp and clean.
If you’re having trouble kissing cutting adhesive foil, the first thing to check is your blade.
Over time, blades can become less effective if they are not well maintained, which can lead to skipping and jagged edges.
To check, take your blade out of the machine and inspect it carefully.
If it looks dull or dirty, try cleaning it or replacing it with a new one.
So before you start cutting, always make sure your blade is sharp and clean for optimal performance.
2. Sharpen and clean the blade using foil.
If your blade is dull or dirty, you can try sharpening and cleaning it with a piece of foil.
It’s a simple and effective way to restore your blade.
Roll the foil piece into a tight ball and stick the blade into it a few times.
This will help to remove any dirt, dust, or build-up from the blade.
3. Make sure the blade housing is clean too.
You might also want to check the blade housing for any debris or buildup that could be interfering with the cutting process.
Over time, small particles of material, like glitter, paper pulp, or lint, can clog the blade housing.
This will cause the blade to get stuck and not go low enough to cut.
If you see any buildup, try removing the blade and using a small brush to clean the housing.
Sometimes you’ll even need to replace it.
4. Use the StrongGrip mat.
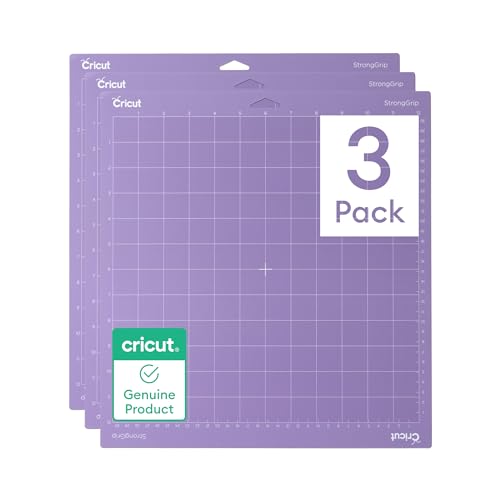
When it’s time to get cutting on your adhesive foil projects, don’t forget to use the StrongGrip mat!
This mat is specifically designed to provide extra grip and support, allowing for a safe, secure cutting experience.
This will help to prevent the foil from slipping during the cutting process. And it will also ensure you get an even cut and accurate alignments.
If you’re looking to get the most out of your adhesive foil projects, then the StrongGrip mat is an essential tool to have in your crafting arsenal.
5. Properly place the adhesive foil on the mat.
When you’re crafting with adhesive foil and your Cricut machine, it’s important to make sure you’re placing it on the mat correctly.
The shiny liner side should be facing down, so the blade can cut through the vinyl adhesive foil film but leave the liner in place.
This is an important step to ensure your Cricut machine is cutting the adhesive foil properly, and your project turns out just the way you want it.
Take the time to double-check that the shiny liner side is facing down before you start cutting.
6. Smooth the foil on the mat with a brayer.

Always use a brayer when applying adhesive foil to your mat.
It’s a simple step that can make a world of difference in the cutting process.
The brayer will make sure the foil is firmly stuck to the mat and smooth, so you won’t have to worry about it wrinkling, shifting or slipping during the cut.
Just place the foil onto the mat and roll the brayer across the surface for even pressure.
That’s all it takes to ensure perfect cuts and designs every time.
7. Use the proper material setting.
Also, make sure you select the proper Cricut material setting for adhesive foil.
This setting, which is simply “adhesive foil”, will help the machine know how much pressure, depth and speed it needs to use when cutting the foil.
Without the right setting, the machine may not be able to cut it accurately.
8. Adjust the material setting if necessary.
Even if you’ve selected the proper material setting, it may not be strong enough to kiss cut the foil in some cases.
There are a few other options that can help you get the perfect cut.
One of the easiest solutions is to increase the pressure to “more” or select the “Adhesive foil, matte” setting.
These settings provide more force and pressure which can make it easier for the kiss cut to slice through the top layers of the foil.
If that doesn’t work, you should also consider adjusting the blade depth, speed, or pressure settings to further fine-tune the kiss cut.
9. Consider changing to a Deep Point Blade.

If none of the above solutions work, you may need to change your blade.
A Deep Point Blade is designed to cut through thicker materials and may be more effective at cutting through adhesive foil.
Just remember to adjust your material settings accordingly.
10. Make a few test cuts.
Results may vary depending on your machine and the specific materials being used.
It’s always a good idea to do a test cut before cutting your entire design to ensure that everything is working properly.
To do a test cut, simply select a small section of your design, and cut it out using your desired settings.
Test cuts can save you time and materials in the long run.
11. Recalibrate the machine.
If you’ve changed or replaced the blade on your Cricut machine, you may need to recalibrate it if it’s cutting in the wrong spot.
Without proper calibration, your machine may not be able to accurately your adhesive foil design.
To do it, just open the Design Space app and choose the calibration option.
However, don’t use adhesive foil for calibration. Get a sheet of ink jet paper and a LowGrip mat, and make sure your printer is on hand too.
The machine will ask you to do a print then cut, and that’ll help it get back on track.
Cutting Cricut adhesive foil can be a bit tricky due to its multiple layers of vinyl and other materials. But with a few troubleshooting steps and testing, you can get your machine to cut it smoothly and accurately. Always make sure to use a sharp and clean blade, a StrongGrip mat, and the proper material setting. Remember that the machine only needs to make a kiss cut on adhesive foil. So don’t worry if it doesn’t cut all the way through the liner. And don’t forget to test your setup before you commit to the entire project.