Looking to add some sparkle to your crafting projects? Glitter cardstock is an awesome choice, but it can be a bit tricky to cut with Cricut. Especially if you’re new to it. That’s why this guide is here to help!
In this article, I’ll share some tips and tricks on how to cut glitter cardstock like a pro using your Cricut machine. I’ll cover the right blade, mat, and settings for your Cricut, as well as how to properly place the glitter cardstock on the mat. And don’t worry — you’ll learn the step-by-step instructions for cutting and some clean-up tips too! Let’s get started!
Gather your tools and materials
Before you begin, make sure you have all the materials you need.
You’ll need glitter cardstock, a Cricut machine, a Cricut mat that is suitable for the type and thickness of cardstock you are using, and the right blade.
Plus, get a spatula, tweezers, a lint roller, and a brayer.
These extra tools that can make the job a lot easier.
You’ll need a spatula and tweezers to help remove delicate cuts with small details without damaging them.
The lint roller is important because it’ll help you remove glitter from the mat after the cut.
And the brayer will help your cardstock adhere to the mat properly.
Taking the time to gather all of these tools will help you get the perfect cut.
Which blade to use for cutting glitter cardstock with Cricut?
When you’re working with glitter cardstock and your Cricut, be sure to use the Fine Point blade for a precise, clean cut!
Place it into the Clamp B of your machine.
This blade is perfect for cutting through thin materials like cardstock and is great for intricate designs.
For the best results, make sure your blade is nice and sharp, or you might end up with torn cardstock instead of a perfect cut.
It’s always a good idea to have an extra blade handy in case you need to switch out the one you’re using.
That way, you can be sure that your cuts are always crisp and precise!
Clean and sharpen your blade from time to time.
It’s actually a quick and easy process.
All you need is a piece of aluminum foil.
Simply take the foil and roll it up into a small-sized ball.
Then take your blade and pierce the ball a few times.
This will also help you clean off any excess glitter before cutting to make sure your blade is running smoothly.
Always be careful when handling and replacing the blade. It’s very sharp and you can get injured.
Which Cricut mat to use for glitter cardstock?
You can refer to my Cricut mat for glitter cardstock guide to choose the right mat.
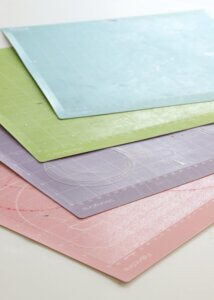
But in general, the green StandardGrip mat is the best one for cutting most types of glitter cardstock, and other materials like vinyl.
It provides the perfect amount of grip and traction to keep your material in place. And it won’t damage your cardstock when you remove it.
This is especially great for intricate designs.
Plus, cleaning it up is a breeze because the mat is super easy to wipe down.
Once you have everything you need, you’re ready to start creating amazing projects with your glitter cardstock and Cricut.
Have fun and let your creativity run wild!
Prepare the Cricut mat for cutting glitter cardstock
Before you start cutting, it’s important to make sure the surface of the mat is free from any dust or debris.
To do this, you can use a lint roller to gently roll over the surface and remove any fibers or glitter from previous projects.
Even if you can’t see anything, try taking this extra step.
It’s well worth it and will make your mat super-smooth and your cuts absolutely perfect.
Place the glitter cardstock onto the cutting mat
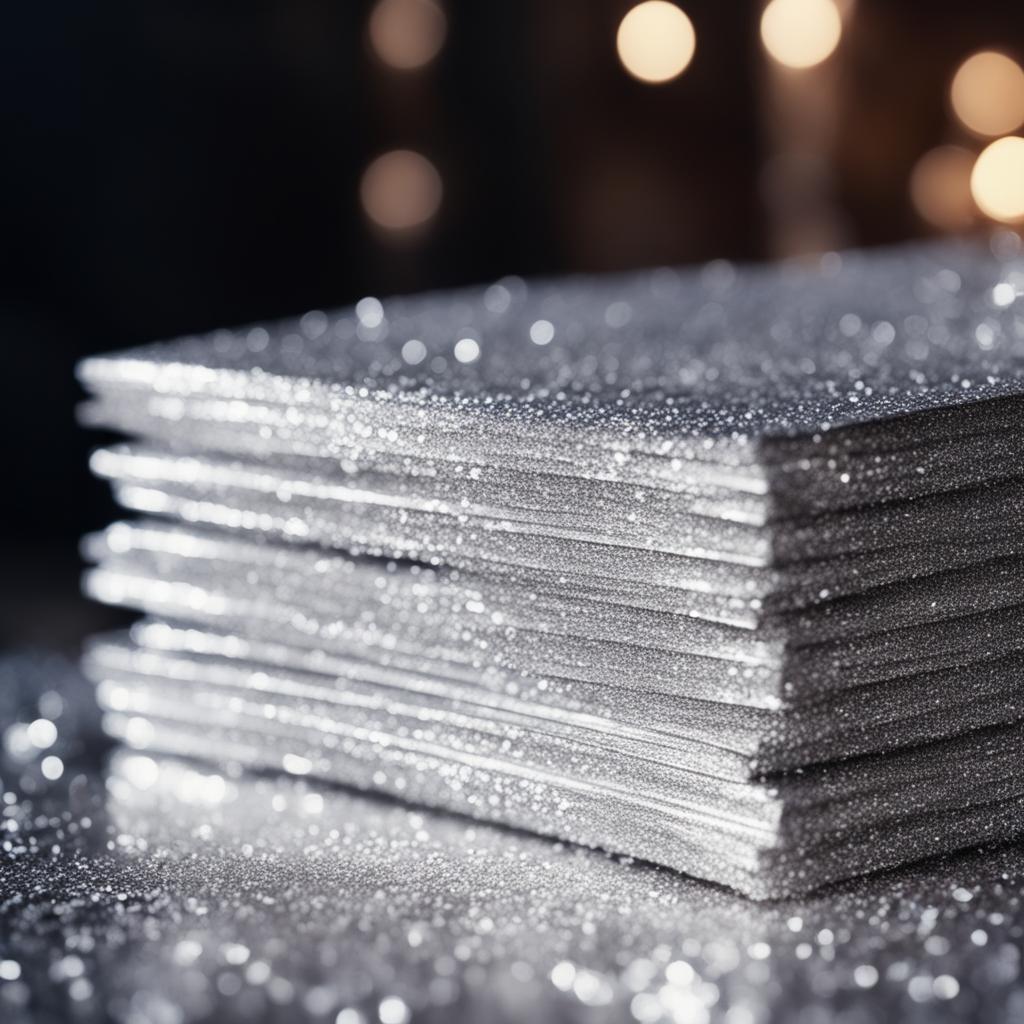
Place the glitter cardstock onto your cutting mat.
Make sure the glitter side is facing up and the cardstock is lined up in the top left corner.
Use a brayer to roll over it and press it firmly.
This will help it stay in place while you’re cutting.
Once you’ve done that, you can start cutting.
Select or create the design you want to cut
Now that your glitter cardstock is ready to go, head over to Cricut Design Space to choose a design to cut.
When you find one you like, remember to resize it to the correct size for your project.
Alternatively, you can design something from scratch in Design Space.
Just remember to keep it simple.
If the design is too intricate, the blade may snag on the glitter.
When you’re happy with your design, click “make it” in Design Space and select “on mat”.
From there, you can adjust the material settings to make sure it cuts through your glitter cardstock just right.
Adjust the settings to cut the glitter cardstock
Start by selecting “Glitter Cardstock” from the list of materials in Design Space.
For Cricut Explore Air 2, turn the Smart Set dial to Custom.
Depending on the type of glitter cardstock and your design, it may be necessary to adjust the pressure setting from “Default” to “More”.
If you’re having difficulties with cutting thicker glitter cardstock you may even need to switch to the “poster board” setting in Design Space.
Finally, it is important to test the settings and make any necessary adjustments before cutting an entire project.
This will help you get the cleanest and most precise cuts every time.
Load the mat into the machine and begin the cutting process
It’s time to get started with the cutting process!
All you need to do is place your mat into your Cricut machine, making sure to align it with the guides, and press the “load” button.
Once that’s done, press the flashing “Go” button and watch your machine start cut the cardstock.
When Cricut is done cutting, carefully remove the glitter cardstock from the mat
Once your Cricut has finished working its magic, it’s time to unload the mat and carefully remove your glitter cardstock creation.
There’s nothing quite like the feeling you get when you see your finished project come to life.
Grab a spatula tool to help lift the edges, corners and small details of your design from the mat.
You can also use a pair of tweezers to help remove any tricky bits.
Then, turn the mat face down and gently curve the mat away from the design.
Your beautiful glitter cutouts are all ready to use.
Clean the mat from glitter residue
After cutting, you may find some glitter residue left behind.
Don’t worry though. This is easy to remove.
Use a lint roller to pick up any small paper pieces, glitter, or fibers.
If there are still some pieces left after that, use tweezers to pluck them away.
To finish up, wipe the mat with baby wipes in one direction until there is no glitter residue left.
This is a great way to make sure you get all the glitter off the mat.
When you are done, leave the mat to air dry for a few hours to make sure it is thoroughly dried out.
And that’s it – you have now successfully taken care of any glitter residue!
Cutting glitter cardstock with a Cricut machine is a great way to add a touch of luxury and sparkle to any project. With the right settings and a few easy steps, you can get your glitter cardstock cut and ready to use in no time.
